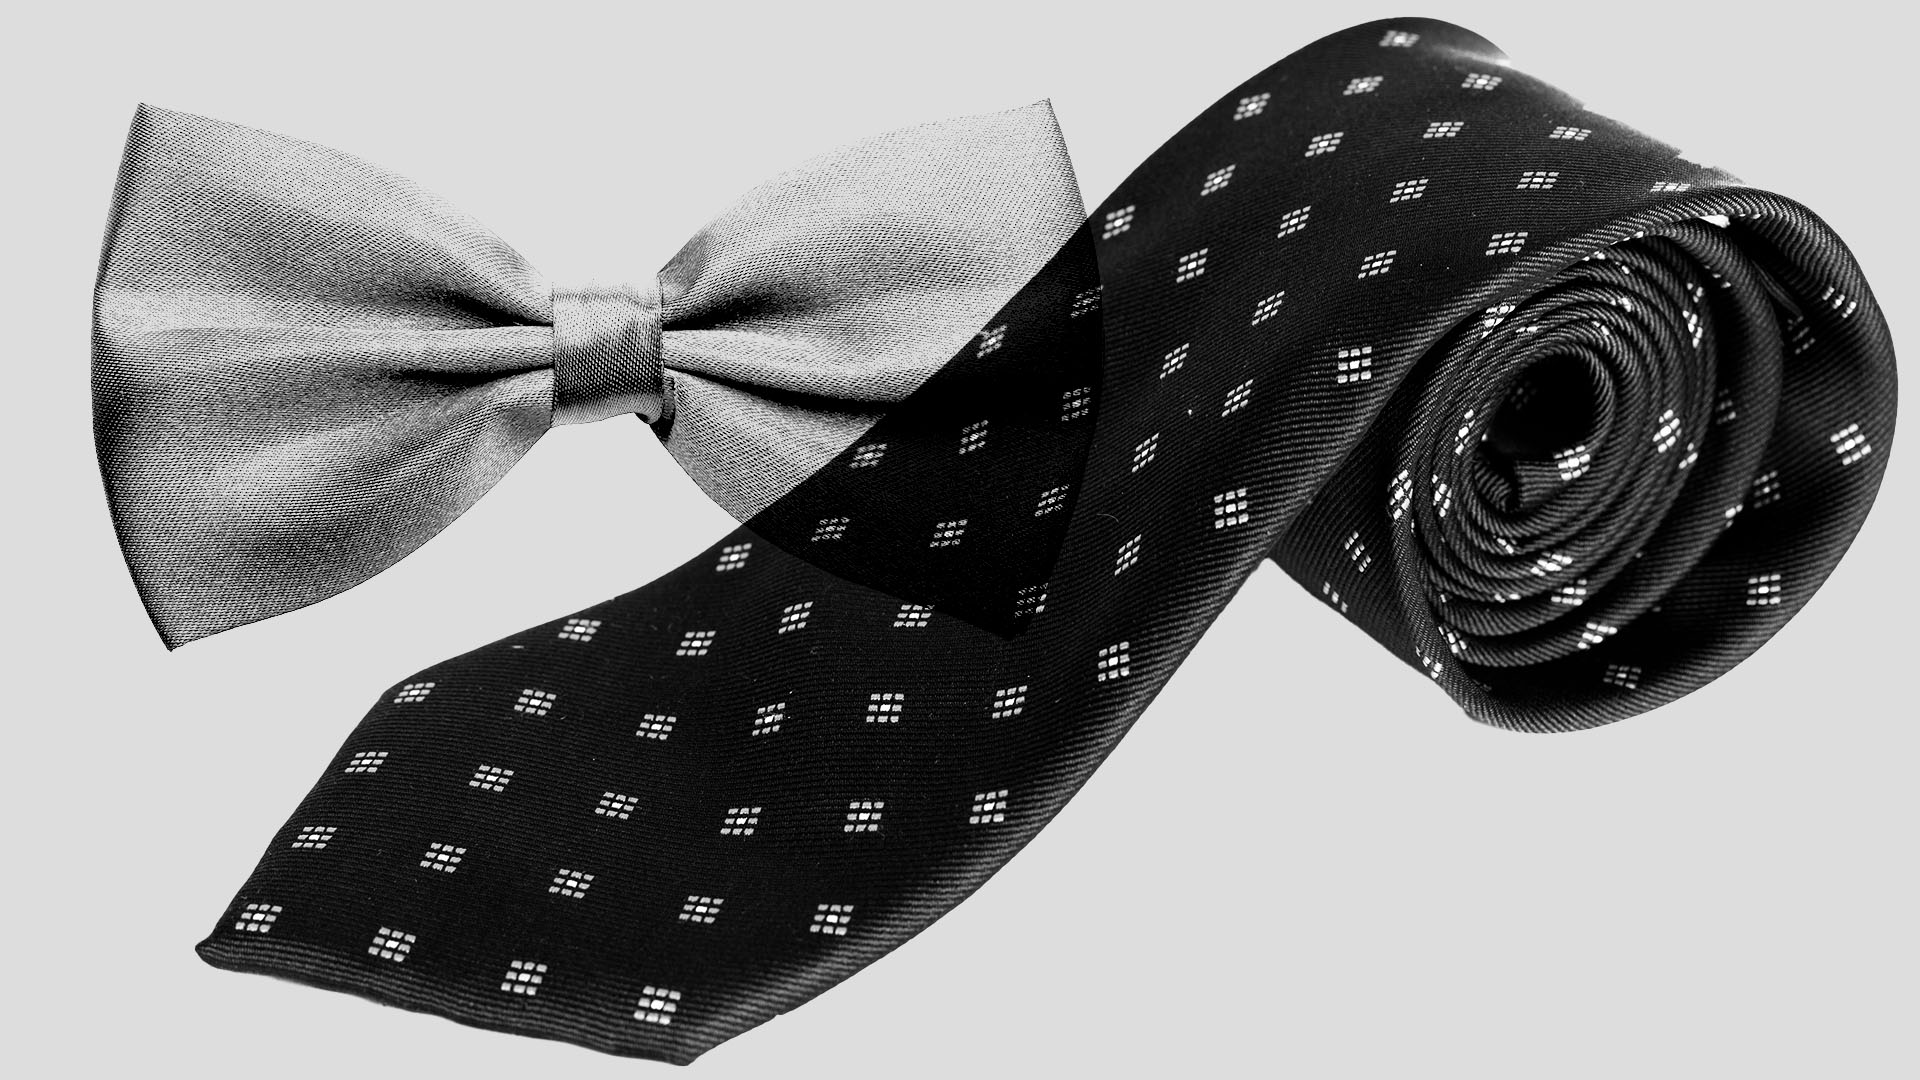
Learning to make a pretty bow, it's almost like discovering a little secret that adds so much charm to everyday things. You know, whether it's for a present, a craft project, or just to add a decorative touch to something you've made, a well-formed bow really does make a difference. It can take something ordinary and give it a special sort of sparkle, turning a simple item into something quite lovely. There's a real satisfaction that comes from seeing those loops and tails come together just right, creating a balanced and pleasing shape.
It turns out, you don't really need any fancy equipment or a whole lot of prior experience to get this skill down. People often think that tying a nice bow is a bit of a challenge, perhaps something that only very crafty individuals can do with ease. But actually, it's more about knowing a few basic movements and practicing them a little bit. We're talking about simple motions that, once you get the hang of them, feel quite natural. It's truly something anyone can pick up, and you might even find it a little bit relaxing as you work with the soft material.
This discussion will walk you through the simple process of creating those charming loops and flowing ends. We'll talk about starting with a basic knot, how to manage the material around different items, and even how to handle those slightly different types of material, like the ones with a little wire inside. You'll get some practical ideas for where you can put these pretty creations, and we'll even touch on some ways to give your bows a neat, finished look. So, get ready to add a touch of simple elegance to your next project or gift, it's pretty straightforward, you know.
Table of Contents
- What's the First Step to How to Tie a Bow Ribbon?
- Getting Ready to Tie a Bow Ribbon
- How Do You Wrap a Bow Ribbon Around a Gift?
- Making Simple Bows - How to Tie a Bow Ribbon
- Where Can You Use Your New Bow Ribbon Skills?
- Exploring Different Ways - How to Tie a Bow Ribbon
- Is Tying a Wired Bow Ribbon Really That Simple?
- Finishing Touches for Your Bow Ribbon
What's the First Step to How to Tie a Bow Ribbon?
To begin the process of creating a bow, you actually start with something very basic, something you probably already know how to do: making a knot. You take your chosen material, whether it's a strip of cloth or a piece of cord, and you find the middle point. This middle point is where your initial knot will sit, forming the very core of what will become your bow. It's a simple crossing over and pulling through, the kind of knot you might make to secure a shoelace, just a little bit looser perhaps. This first little tie really sets the stage for everything else that follows, so it's a good place to put your focus, you know, just to get it right.
Getting Ready to Tie a Bow Ribbon
Before you even think about forming those pretty loops, there's a small but important bit of preparation. You'll want to get your material ready. This means taking your chosen strip of fabric or cord and giving it a good look. You're aiming to find the approximate center, that spot where, if you folded the material in half, both ends would meet up. It doesn't have to be absolutely perfect, but getting it fairly close to the middle helps a lot with the balance of the finished bow. Then, you're going to make that first, simple tie. You bring one side over the other, then tuck it underneath and pull it through, forming what's often called a basic overhand knot. It's quite a fundamental action, and it's where the whole bow-making adventure actually starts, so, you know, just take your time with it.
How Do You Wrap a Bow Ribbon Around a Gift?
When you're looking to adorn a package with a lovely bow, the approach changes just a little bit from making a standalone one. Instead of just working with the loose material, you first need to bring the material around the item you wish to decorate. Imagine you have a box, and you want to put a nice band of color around it. You'd take your long strip of fabric, lay it across one side, bring it underneath, and then bring it back up to the top. It's like giving the package a gentle hug with the material, making sure it sits fairly snugly without being too tight. This initial wrapping step is quite important because it positions the material correctly for the next part, which is where you'll make that foundational knot. So, you know, it's about setting things up well.
Making Simple Bows - How to Tie a Bow Ribbon
After you've got your material wrapped around whatever you're decorating, or if you're just making a bow on its own, the next bit is to create that first secure point. This is where you actually form the very first part of your bow, right there on the package itself, or in your hands if it's a separate piece. You bring the two ends of the material together, crossing one over the other, and then you pull one end through the loop that's formed. This action creates a secure, flat tie that holds the material in place. It's the base from which the two loops of the bow will emerge, so it needs to be firm enough to stay put but not so tight that it creases the material too much. This initial tie is, in a way, the anchor for the entire decorative piece, so it's worth making sure it feels steady.
Where Can You Use Your New Bow Ribbon Skills?
Once you've got the knack of creating these simple, elegant bows, you'll find that they have a surprisingly wide range of applications. They aren't just for presents, you know. Think about those little details that can truly make something feel finished and special. For instance, if you're working on something with fabric, like a small pouch or a piece of clothing, a tiny bow can add a charming touch. It’s like a little flourish that says, "this was made with care." The material you choose can really change the feel too; a soft, flowing strip of cloth will give a different impression than a more structured one. So, in some respects, the possibilities are quite open.
Exploring Different Ways - How to Tie a Bow Ribbon
These simple decorative ties can really enhance a variety of projects. Consider your sewing endeavors; a small, neatly tied bow can be a delightful addition to a garment or a piece of home decor. If you work with yarn, perhaps knitting or crocheting, a bow made from a contrasting material can add a pleasing visual element to a finished item, or even serve as a decorative closure. For special events, like a wedding, these ties can be used in many places – on invitations, as part of table settings, or even as small accents on favors. And if you enjoy papercrafts, like making cards or scrapbooks, a well-placed bow can give your creations a lovely, textured dimension. They truly are a versatile little embellishment, offering a simple way to add beauty to nearly anything you can imagine.
Is Tying a Wired Bow Ribbon Really That Simple?
You might sometimes come across material that has a thin wire running along its edges, often used for decorative purposes because it holds its shape so well. If you've ever wondered about creating a bow with this kind of material, you might think it presents a greater challenge than working with softer, more pliable types. But actually, it turns out it's not nearly as complicated as you might first imagine. The presence of the wire, in a way, makes it even easier to form and maintain the loops and tails of your bow, as it gives the material a certain firmness that helps it stand up on its own. So, you know, don't let the idea of wire put you off; it's quite manageable.
Finishing Touches for Your Bow Ribbon
When you're working with material that has a bit of wire in it, the process for creating your loops and securing your knot is quite similar to what you'd do with a regular, softer material. The main difference, and indeed the advantage, is how the material behaves once you've shaped it. Because of that internal wire, you can gently mold the loops and the ends of your bow to exactly the shape you want them to be. They will then stay in that position, giving your finished piece a very crisp and defined look. This makes it particularly useful for things like wreaths or larger decorations where you want the bow to maintain a certain fullness and structure. It's a bit like having a built-in helper for shaping, which is pretty handy, you know.
Beyond the basic knot, there are actually a few different methods for making bows, each giving a slightly different look. Some ways involve making multiple loops, creating a fuller, more elaborate appearance, while others focus on a simpler, more streamlined design. You might find tutorials that show you how to achieve four distinct styles, for example. These guides often break down the steps very clearly, sometimes with diagrams or even videos, making it quite straightforward to follow along. They'll also give you useful little hints and suggestions for getting the best result, like how to make sure your loops are even or how to keep the center neat. So, you know, there's always a little more to explore once you've got the basics down.
For those special occasions, like the holiday season or when you're preparing a gift, these step-by-step instructions can be incredibly helpful. You don't need to go out and buy any special equipment; your hands and the material are really all you need. The tutorials often focus on creating pretty, balanced bows that add a touch of charm to any package or festive decoration. They might show you how to create those classic, neat loops that sit just right, or how to make the ends of the material fall gracefully. It's about taking a simple strip of material and, with a few careful movements, turning it into something truly decorative, which is quite satisfying, actually.
One particular way to give your finished bow a polished look involves creating what are sometimes called "fishtails" at the ends of the material. This is a simple technique where you cut the ends of the material at an angle or notch them, giving them a neat, V-shaped finish. This little detail can really elevate the overall appearance of your bow, making it look more professional and thought-out. It's a small touch that makes a big difference, especially for items like handmade cards or pages in a scrapbook, where every detail contributes to the final aesthetic. Katy, for instance, has shown how to achieve this particular finish, making the perfect decorative piece for various craft ventures. It's just a little extra step that adds a lot, you know.
A good starting point for any bow-making project is to think about the length of the material you're using. It's generally a good idea to cut your material so that you have a bit of extra length beyond what you think you'll need for the loops. This extra length is specifically for the "tails" of your bow, those parts that hang down gracefully once the loops are formed. Having a little more material than you anticipate needing gives you room to adjust, to make sure the tails are long enough to look pleasing, and to trim them neatly if necessary. It means you won't find yourself short of material right at the end, which is always a bit frustrating, so, you know, better to have a little too much than too little.
In summary, creating a beautiful bow starts with a simple knot at the material's center, or after wrapping it around a package. These decorative elements are quite versatile, finding a place in sewing, yarn projects, wedding decorations, and papercrafts. You can make them with various material types, from thin to thick, and even those with a bit of wire, which are surprisingly easy to manage. There are several ways to form these bows, often with straightforward guides that don't ask for special tools. Adding a neat finish to the ends, like a fishtail cut, can really complete the look. Remember to cut your material with enough extra length for nice, flowing tails.